.svg)
ScriptRunner Blog
Discover the power of Powershell Automation with this comprehensive collection of articles from ScriptRunner. Learn how to streamline your processes and increase efficiency.
Thank you! Your submission has been received!
Oops! Something went wrong while submitting the form.


.svg)
.svg)
October 31, 2025


October 14, 2025


October 30, 2024


September 30, 2024

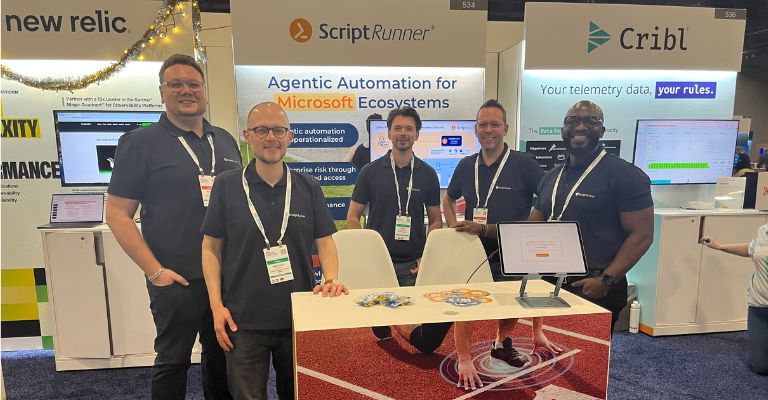
ScriptRunner at Gartner IOCS 2025: How to Operationalize Agentic Automation in the Microsoft Ecosystem
December 11, 2025
December 11, 2025

December 9, 2025

Eliminating Automation Sprawl to Achieve Measurable Agentic Automation ROI in Microsoft Ecosystems
December 2, 2025
December 2, 2025
.png)
November 25, 2025

.png)
Architecting for AI ROI: How to Build an Automation Strategy that Maximizes Productivity
November 18, 2025
November 18, 2025
.png)
November 13, 2025

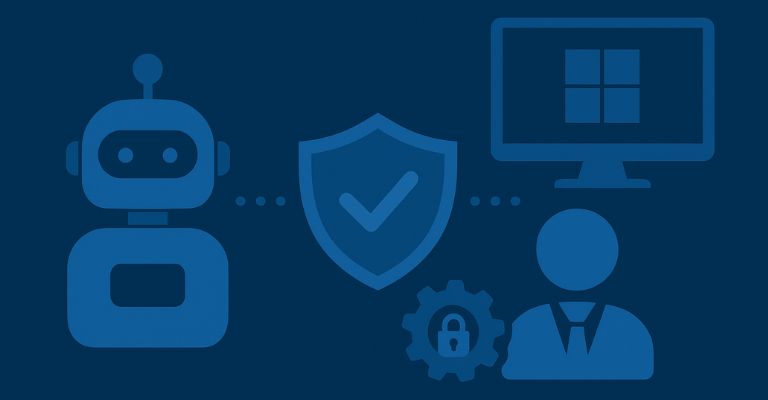
The Coming Era of Microsoft Automation: Why AI Agents Need Guardrails to Secure Long-Term ROI
November 6, 2025
November 6, 2025

Governments Are Clamping Down on Enterprise-Level AI Usage: How to Ensure Your Microsoft Automation Stays Compliant
November 4, 2025
November 4, 2025

Recent Cyber Attacks Highlight the Importance of Central Oversight in Microsoft Automation
October 30, 2025
October 30, 2025


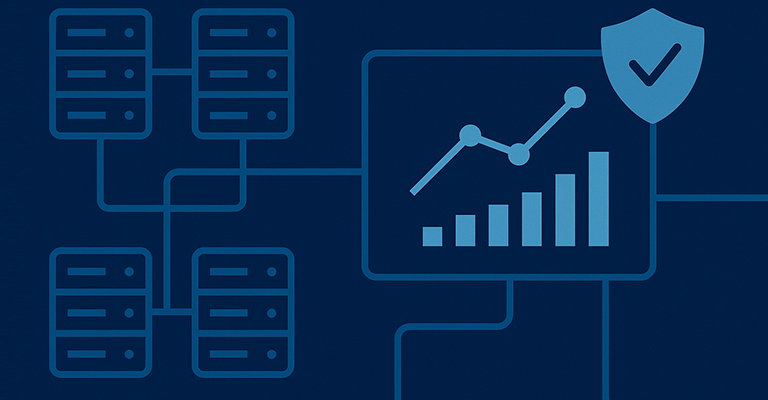
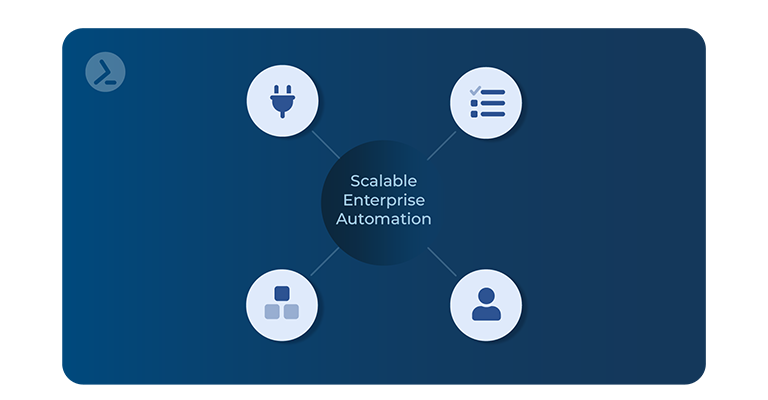
PowerShell Performance at Scale: Capacity Planning and Performance Monitoring for Growing Automation
October 16, 2025
October 16, 2025

September 25, 2025
September 23, 2025
September 18, 2025
September 16, 2025

September 11, 2025

September 9, 2025

September 1, 2025
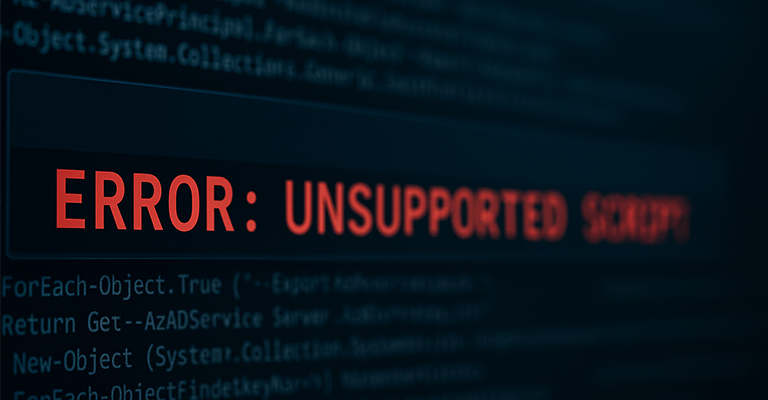
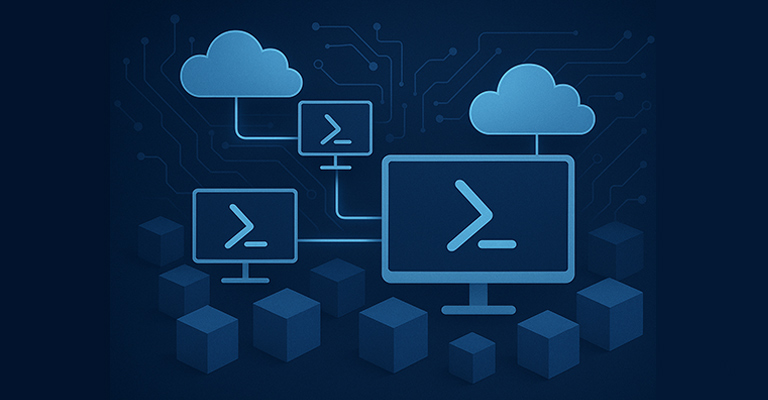
Unsupported and Unmaintained: The Risk of Self-Built PowerShell Solutions in Microsoft Environments
August 26, 2025
August 26, 2025


5 Governance Mistakes That Break Compliance in Microsoft Environments (And How to Fix Them)
August 14, 2025
August 14, 2025

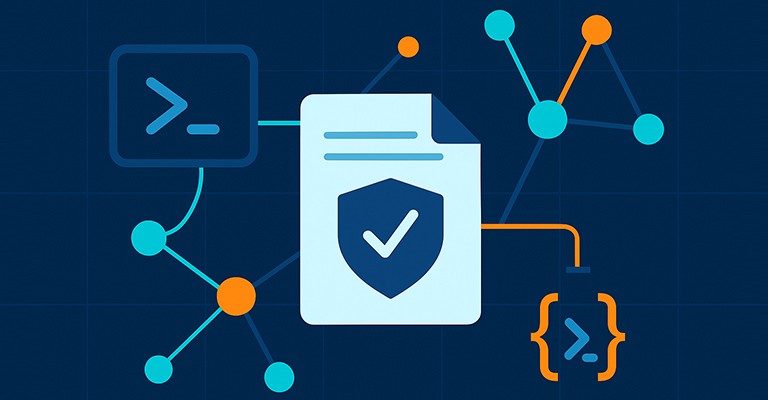
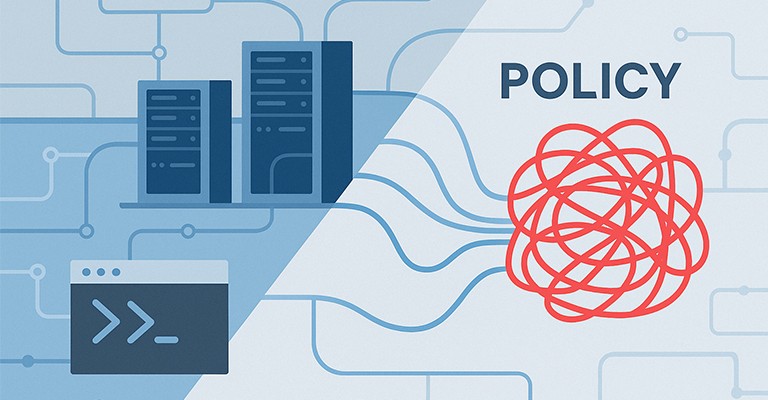
From Script Sprawl to Secure Delegation Policy-Driven PowerShell Automation for Microsoft IT
August 12, 2025
August 12, 2025
June 24, 2025

September 4, 2025

August 19, 2025
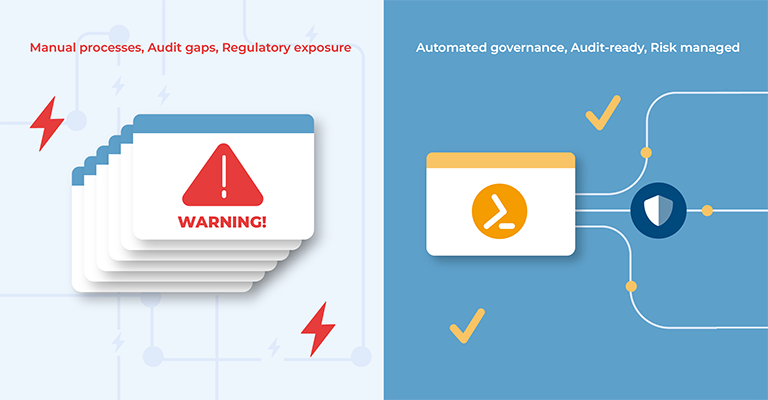
Why Enterprise Automation Governance Is the Foundation of Compliance in Regulated Industries
July 24, 2025
July 24, 2025
July 17, 2025