.svg)
.svg)

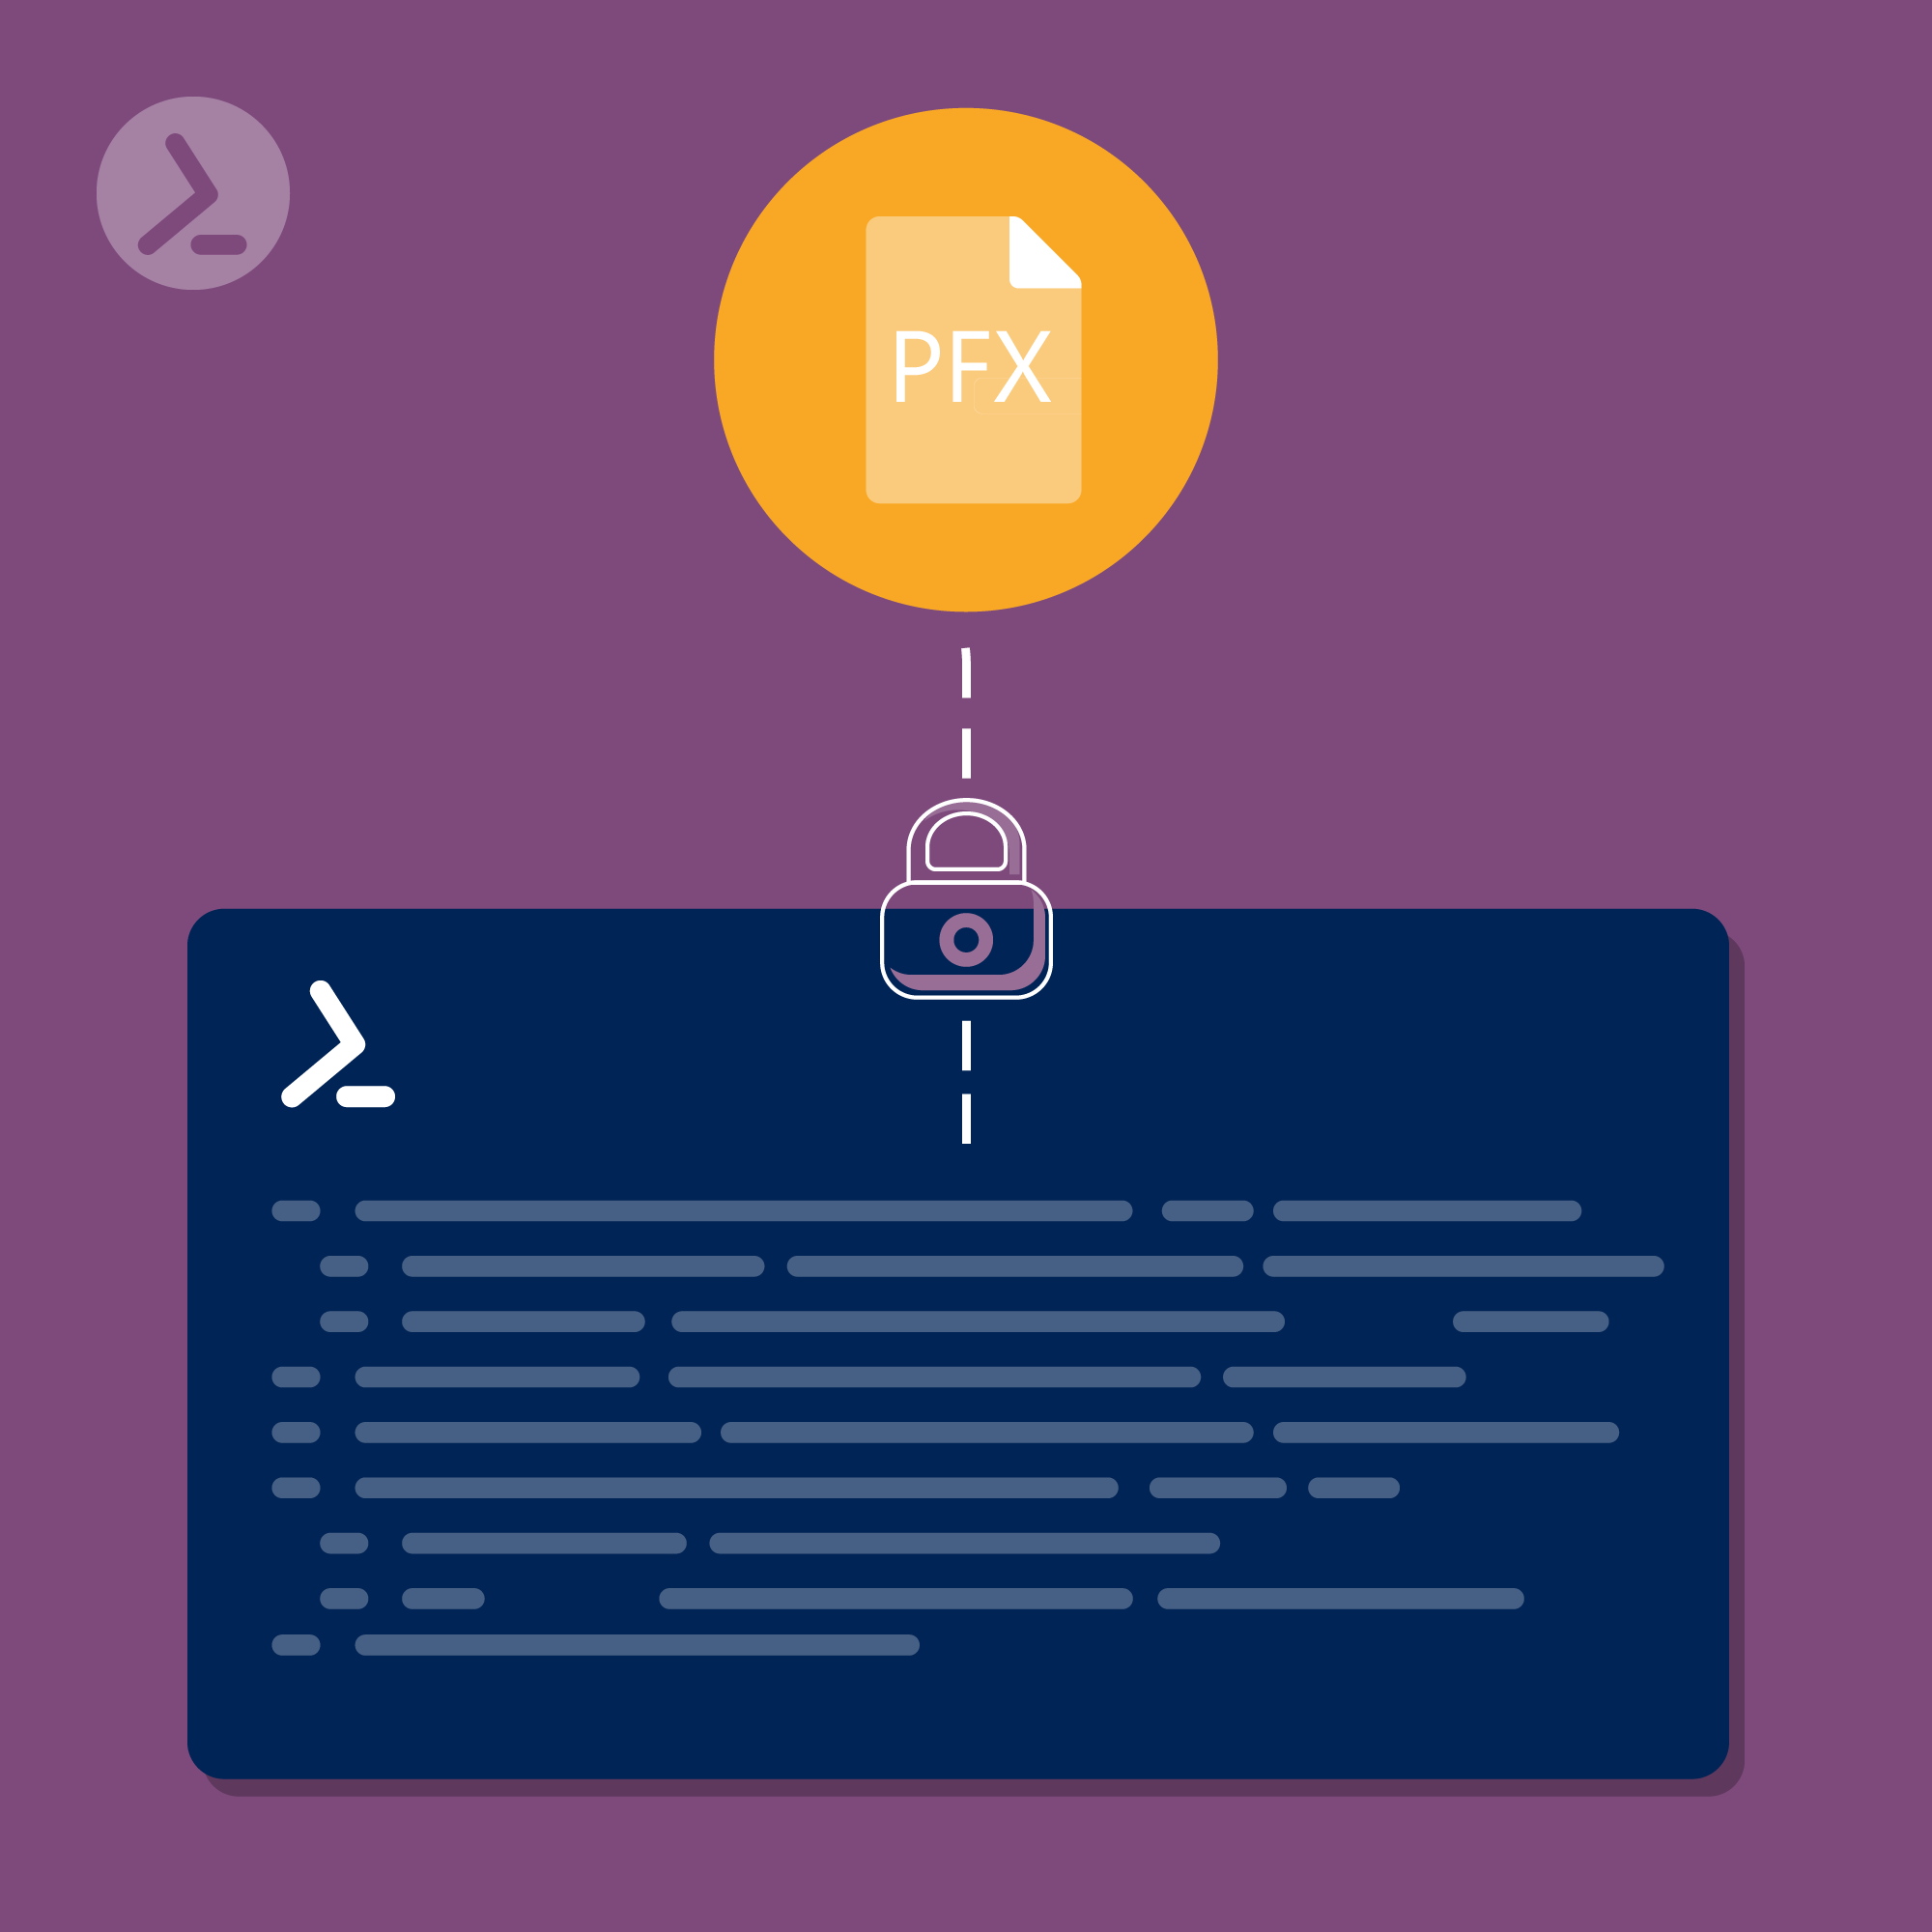
You need to create a PFX file because you "only" received a .CER, a .CRT file and an RSA key when buying an SSL certificate? With PowerShell, it's easy in this article, I am describing the required steps. The best thing is, it works without additional modules, without installing other software, because Windows users already have all the means necessary on board.
If you don't want to rely on self-signed SSL certificates, you can purchase a certificate from one of the countless resellers. You are ready to go if the correct .CER, .CRT and the .PFX file containing the private key were delivered at the time of purchase. But what to do in case a .CER and a .CRT file were delivered, but only an RSA key was included? Then you have to generate the .PFX file yourself.
The good news: The effort is minimal and in combination with the CERTUTIL tool, PowerShell will help us!
Ready in Just 6 Simple Steps
Let's take a closer look at merging the required files:
Step 1
In the first step, you save the RSA key in a file with the extension .KEY. For this, it is enough to copy the complete RSA-Key into the native Windows editor (or any other text editor) and then save it with the file extension .KEY.
IMPORTANT: The .KEY file must have the identical name to your .CRT or .CER file!
Step 2
You want to make sure that both files are the same directory.
Step 3
Open the PowerShell and navigate to the corresponding directory:

As an example for the directory where the .CRT / .CER and the .KEY file are located.
Step 4
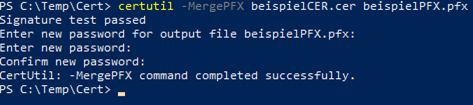
Now you can use CERTUTIL to create a .PFX file from the existing files, which contains the private key. To do this, run the following in PowerShell:

"beispielCER" (exampleCER) in this case specifies the already existing .CER file, "beispielPFX" (examplePFX) is the new .PFX file to be created, which will contain the private key.
Step 5
When executing the command, a password must still be entered.
A tip: The password will be needed when importing the certificate later - so remember it and/or consider writing it down.

A password must be assigned
Step 6
Once you have assigned a password and confirmed it, the new .PFX file will be generated and stored in the same directory as the two original files.
Success message after the new .PFX file has been created.
I hope the short explanation was helpful.
Good luck with the implementation and #KeepOnScripting
Take a look!
We just launched our Demo System so you can get a preview. This is what it looks like to have one portal where you trigger all your automated tasks: from resetting an AD account password to managing a VMware VM as well as performing jobs in Azure and Exchange.
Use your PowerShell knowledge to achieve more: automate repetitive tasks, ensure results with consistent quality. Work smarter, not harder!
Related links
- ScriptRunner ActionPacks will help you automate tasks
- Try out ScriptRunner here
- ScriptRunner: Book a demo with our product experts