
SharePoint Online includes many features that are not available in local SharePoint environments. However, via a connection to Microsoft 365/Office 365, they can also be used on-premises.
In contrast, the management shell in SharePoint 2019 offers much more possibilities for control with PowerShell.
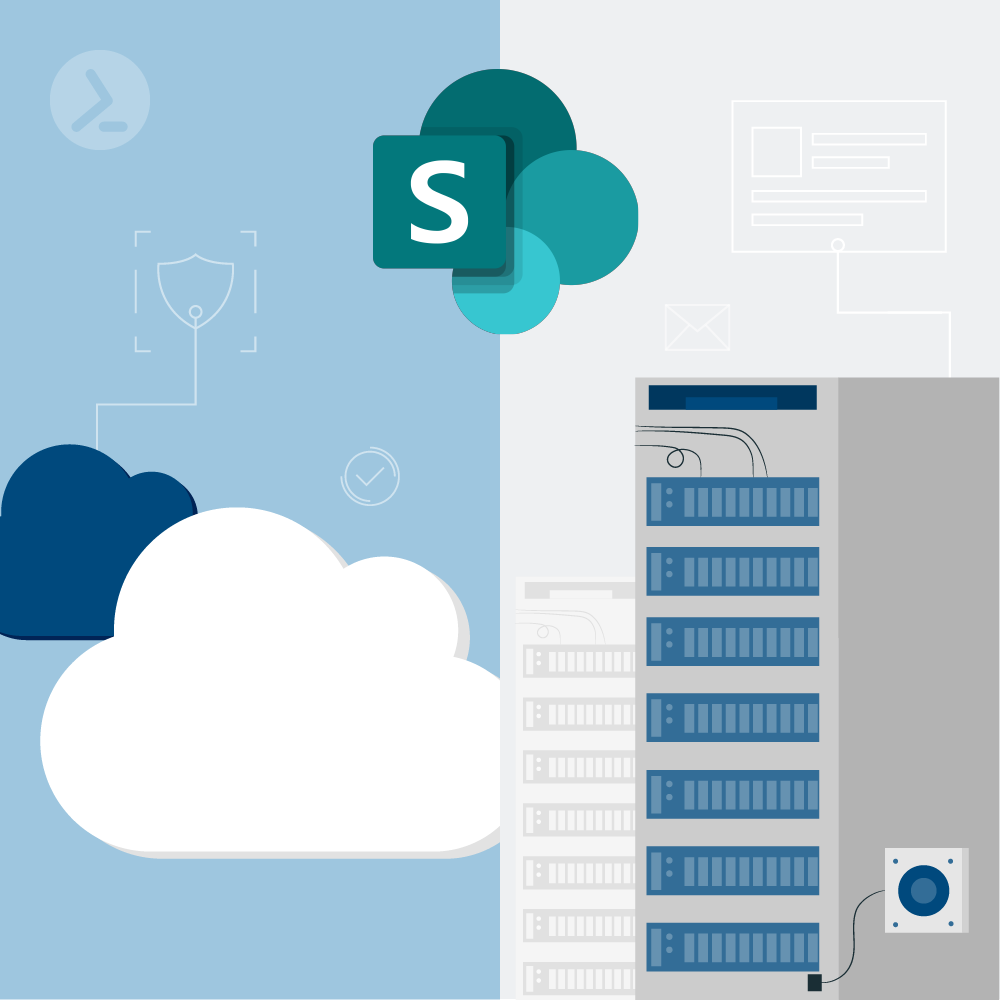
Hybrid configuration with SharePoint and Microsoft/Office 365 allows you to take advantage of both. The following article explains how this can be implemented and what you need to keep in mind.
However, SharePoint 2016/2019, in its on-premises installation in the local data center, provides the ability to connect to Microsoft 365/Office 365, allowing SharePoint to run locally and work with SharePoint Online in Microsoft 365/Office 365.
On the other hand, SharePoint Online offers much less options to be managed via PowerShell. Here the administration shell in SharePoint 2019 offers much more possibilities.
To set up an environment for hybrid configuration, the free PowerShell script AutoSPInstaller can be used. The script is available for download on GitHub and takes care of all steps necessary to install a SharePoint farm.
Provide cloud functionality in the local data center
Hybrid configuration can be managed through the graphical interface, but also with the SharePoint management shell. Hybrid configuration can be set up using the Hybrid Configuration Wizard (see Figure 1).

Figure 1: Set up hybrid deployment of SharePoint 2019 and SharePoint Online.
The configuration requires the Hybrid Configuration Wizard to be able to log in to the local Active Directory environment and to Microsoft 365/Office 365. The required logon credentials are specified when running the wizard and verified through the wizard.
Set up SharePoint Cloud Hybrid/Federated Search with PowerShell
The Search window shows where the information found came from. For this to work, this feature must first be set up. With Hybrid Federated Search, the respective search indexes always remain on their platform, but are merged by the search engine.
The second search option is Cloud Hybrid Search. This uses the search application “Cloud Search Service Application”. This search application stores the search index of SharePoint 2019 in Microsoft 365/Office 365 and merges it with the search index of SharePoint Online.
The disadvantage of this search option is that only the setting options of SharePoint Online are used. However, in this case the users receive a homogeneous search result.
Microsoft provides PowerShell scripts for configuring the Cloud Hybrid Search for SharePoint for free. With the script “CreateCloudSSA.ps1” the search application “Cloud Search Service Application” (Cloud SSA) is created.
The connection to SharePoint Online is established with “Onboard-CloudHybridSearch.ps1”.
When using the scripts, the local SharePoint server must be specified and the name of the user account with which the search service should be started on the server. The name of the application is also controlled by the script. To create the search application, the name of the database for the server farm is also required. The data is queried by the script. Then the script creates the search application.
Taxonomy in hybrid environments
During execution, the groups are copied from metadata to SharePoint Online. During this process, SharePoint Online becomes the authorizing source for the taxonomy group. For example, the logon data for the process can be stored in a variable beforehand. Afterwards the copying is done with the following command:
$credential = Get-Credential Copy-SPTaxonomyGroups -LocalTermStoreName "Managed Metadata Service Application Proxy" -LocalSiteUrl "https://sharepoint" -RemoteSiteUrl "https://contoso.sharepoint.com" -GroupNames "Group1","Group2" -Credential $credential
This command copies the two groups “Group1” and “Group” to https://contoso.sharepoint.com. If you also want to use the content types hybrid, you can use the Cmdlet Copy-SPContentTypes:
Copy-SPContentTypes -LocalSiteUrl http://localsite/ -LocalTermStoreName "managed metadata service application proxy" -RemoteSiteUrl https://contoso.sharepoint.com/ -ContentTypeNames @("ContentTypeA", "ContentTypeB") -Credential $credential
Microsoft describes the detailed procedure in the SharePoint documentation.
To stop replication between environments, use the Cmdlet Stop-SPTaxonomyReplication.
Related posts
About the author:

Thomas Joos is a freelance IT consultant and has been working in IT since 1992. He has published more than 90 practical reference books and writes for numerous IT publications such as c’t, PC Magazin, PC Welt, IT Administrator, Computerwoche and Heise Security.
Latest posts:
- Privacy Management with PowerShell – Let's look at the core features of Priva!
- Let's celebrate System Administrator Appreciation Day!
- PowerShell 7: What are the pros and cons of switching from Windows PowerShell 5.1?
- Azure Arc & integration in VMware vSphere
- PowerShell Secrets – Bulletproof password management